Monday, 30 January 2023

Dreams of Beauty - for DT 2Crafty Chipboard

  Hello everyone.

Emma with you today sharing my first 2Crafty project of 2023.
I hope this page inspires you to get a little creative. I loved playing with this colour scheme, and the chipboard pieces were definitely the perfect compliment.


Check out the pieces I used here.....

Foliage Set 4
Intricate Seahorses
Seaweed Set


I love how the chipboard is thin enough to slide between my layers and how well they work with all mediums.


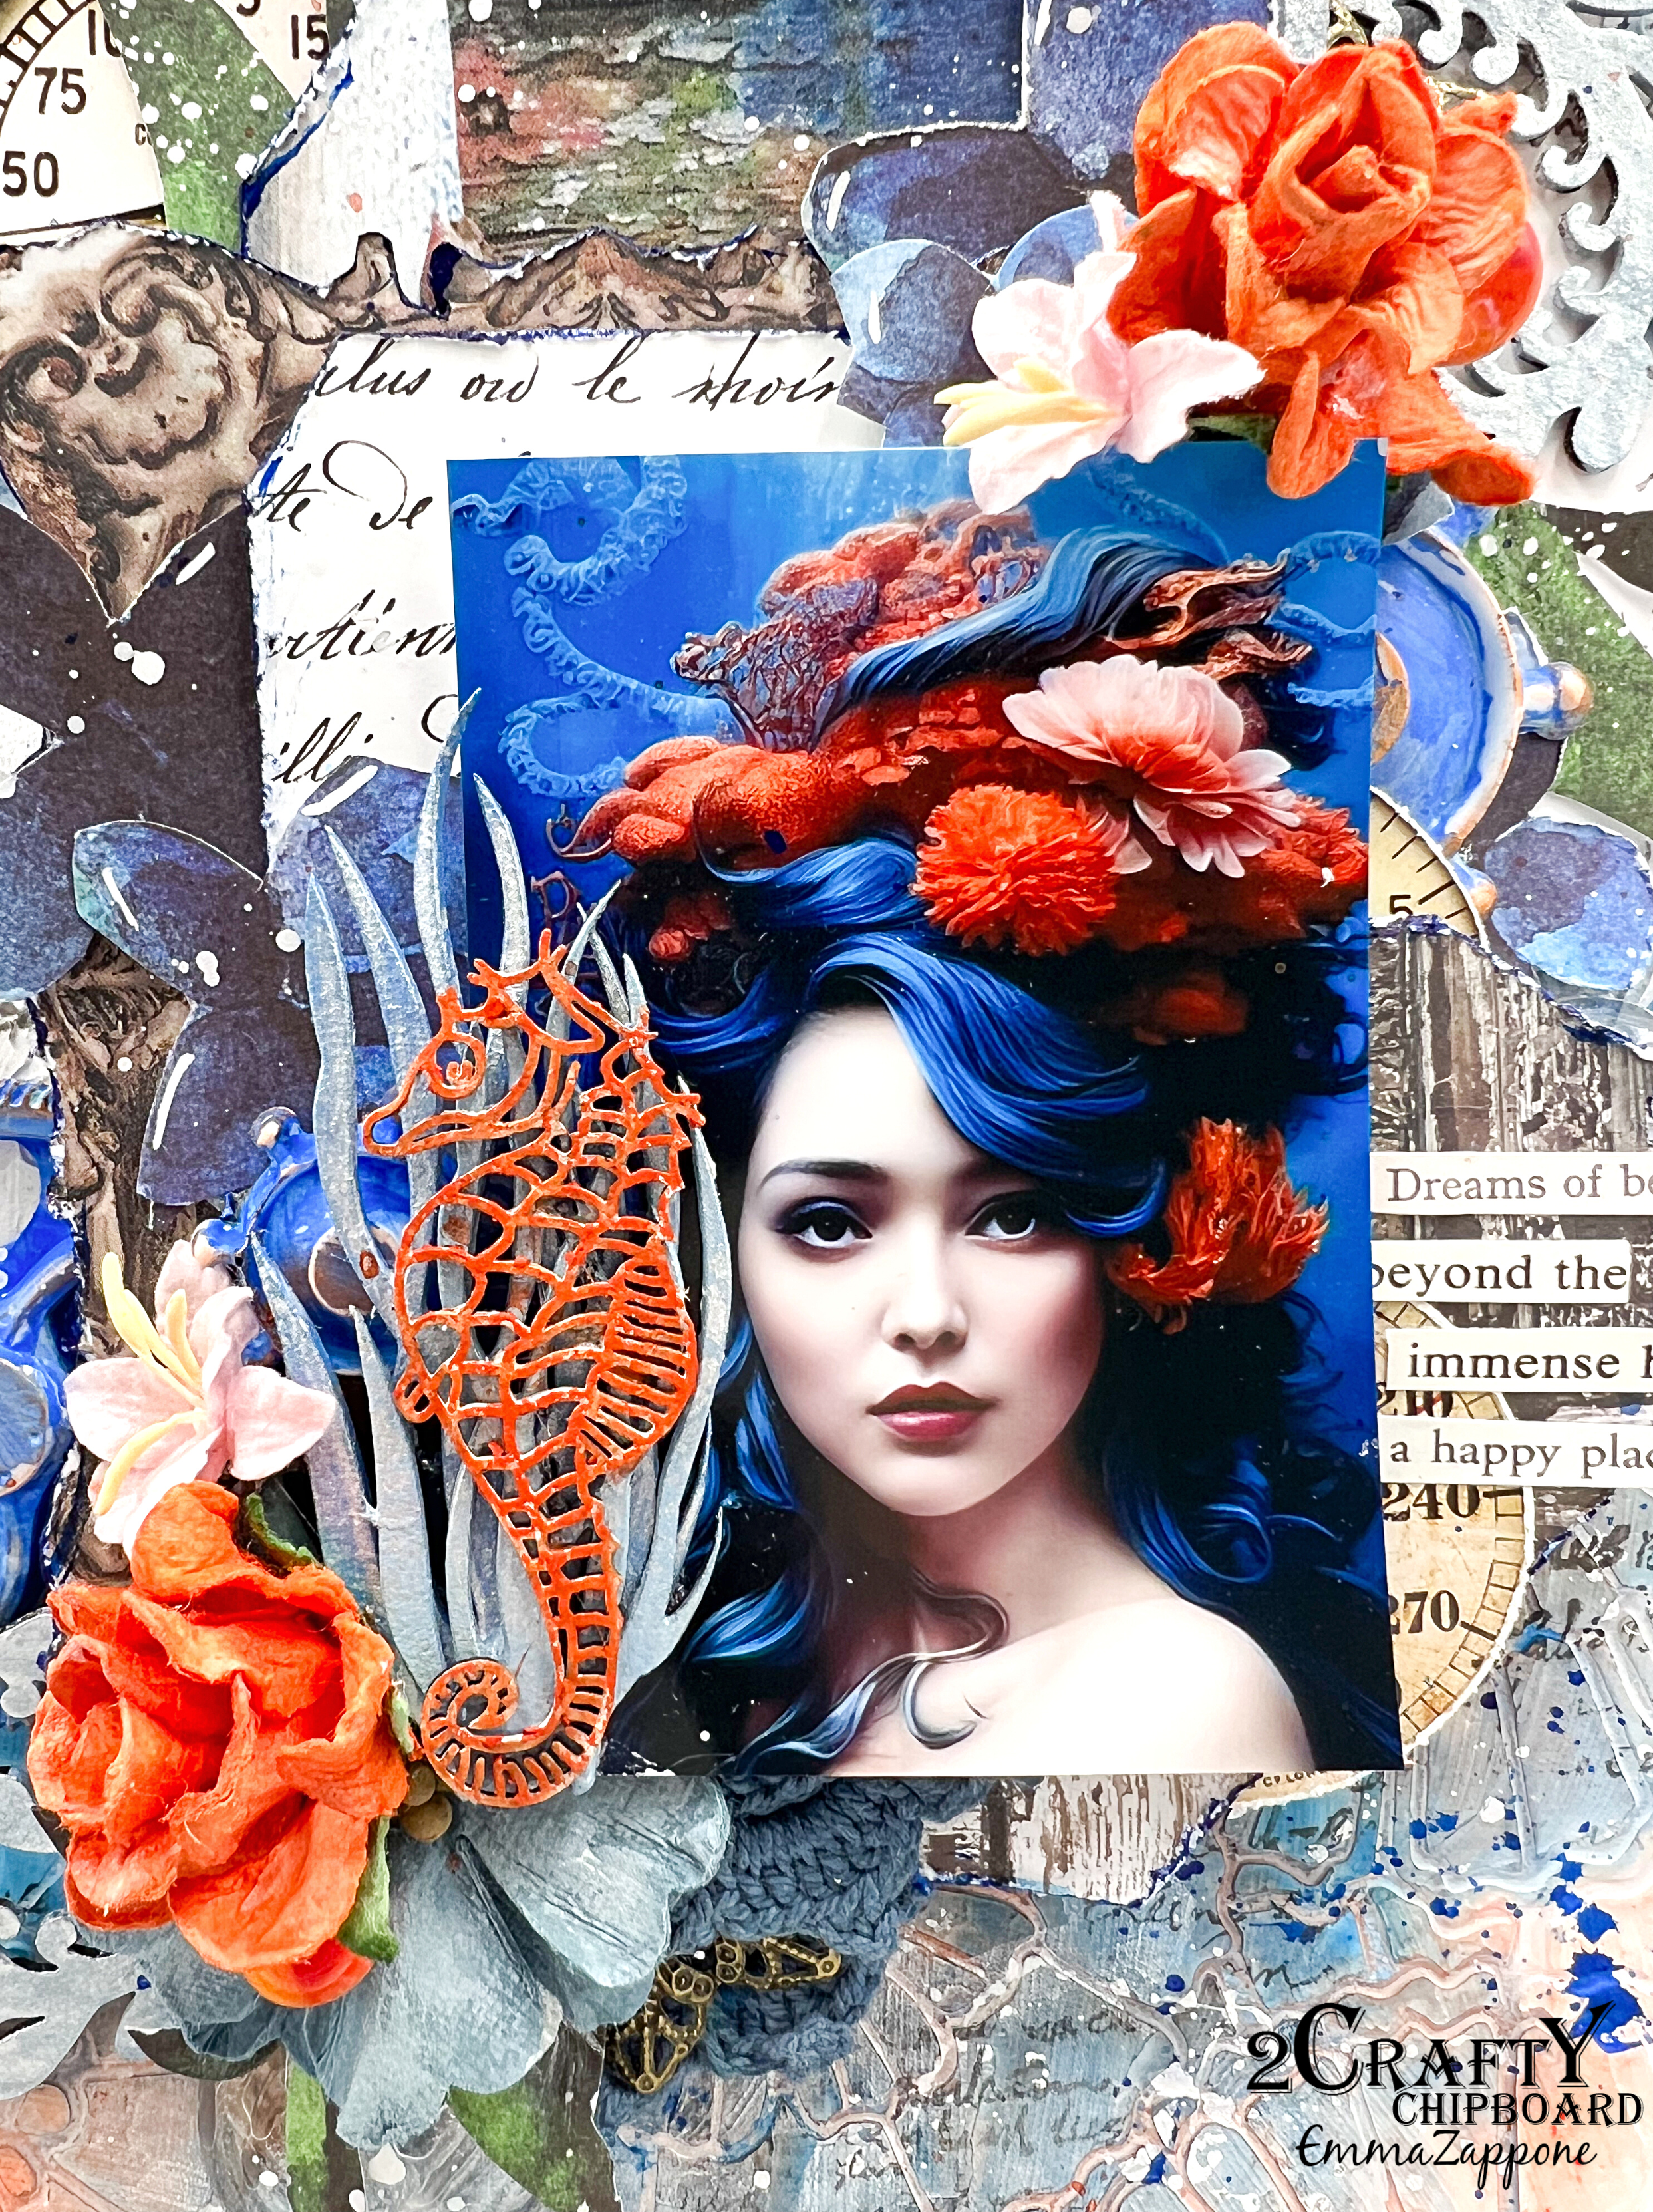
The Foliage pieces on this page are only 2 pieces out of 6 in a pack. I love that this means I have so much more to play with on other projects. I painted these in a Light Blue acrylic and once dried sprayed a Pearl shimmer to them.


I applied the same finish on the Seaweed pieces too. With the pearl spray it made them a gorgeous silver tone.


I used the smaller Seahorse out of the 2 pack and painted it with a cream acrylic to start with and then found it got lost. So I rubbed a little orange distress crayon over the top and then activated it with a wet paint brush. So much better, that gorgeous Seahorse really pops now.


I hope I have inspired you to try something a little different, either it's the colour, chippy, size of the project or maybe it's all of the above. Whatever it is, have fun.

Thanks for joining me today, I will catch you all again soon.
Em xx


Thursday, 19 January 2023

Move On - Created for DT ScrappingClearly

  Hello Hello!

Em with you today, and I'm sharing a layout with you this week.
I did draw just a little inspiration from the January Affirmation board too, and this page used lots of old goodies from my stash that needed to be played with.


Let's look at the affirmation board and see how I dissected it.

This week I chose to focus on the eye, shades of green, some lace and what I had left of the 'Aliferous' paper. Yes, the colours did detour a bit, but I do love the outcome.


Let's talk some product. I had green in mind when choosing my pieces. So I went through my many many products and pulled out green things, starting with Tim Holtz idea-ology paper. And the left overs of a sheet of the Aliferous rice paper. I then needed 'embellishments' or pieces that layered. So I fussy cut elements from Stamperia's Amazonia collection. This also introduced colour that led me to use this stunning image that the layout is centered around. 


While fussy cutting I pulled out the Vintage Butterflies transfer sheet by Dress my crafts, and once transferred, fussy cut that stunning large butterfly out. Resin castings are also used from a variety of different moulds. These are painted with Art Alchemey Metallic - Dark Forest, and highlighted with Finnabair wax - Rich Copper, my fave. 


Once everything was glued down, then came the colour on the background. I used a variety of sprays in my collection to get the desired effect. Then I finished it off with an Aall & Create stamp - 'Scripted Thoughts' with some Staz-on ink in 'Spiced Chai.'


That's it. Lots of mixed up products resulting in a fun, and what I feel is a rather striking layout.

I hope I have inspired you to create and I would love to see your inspired pieces from the affirmation board too.

Catch you all soon, Em xx


Thursday, 12 January 2023

'Creating Myself' - Created for DT ScrappingClearly

  Hello everyone, Em with you today.

Thanks for joining me on what is my first share of 2023 here at ScrappingClearly. I’m so very happy to be here for another year creating with beautiful products and hopefully inspiring you all a little. 

This weeks share is an Art Journal page. It’s far from perfect, elements I would of liked to have done differently, but that's the great thing about Art Journaling, it doesn't need to be perfect and allows growth. I created in the ABM Perfect size Journal.


 I have been cutting out images from old issues of my Frankie Magazines that inspire me, and thought this one was perfect to match this months mood affirmation board.
Please feel free to check out the process video for this page too. 


I love that the board has the Art Foundations packs incorporated. I used this Aliferous substrate on my pages. I cut circles out of it along with some book paper. 


I started with some Black Gesso, and a mix of acrylic paints in the greens featured in the board, these included Dylusions and Dina Wakley.


With the acrylics I used them through a couple of different stencils. The main one is a gorgeous Finnabair one that mimicked the lace effect that's also featured in the board.


My quote was created with alpha stamps and Liquitex black ink. I then went over them with a Pintor pen and acrylic white pen to make it bold. The quote suits the image, I love that she is reading a Psychology book, so this quote is to build self esteem. 


I added a little colour to the image using colour pencils.
Why not grab a cuppa and watch it all come to life, mistakes and all in the process video here...


Thanks for joining me today.
Catch you again soon.
Em xx


Monday, 8 August 2022

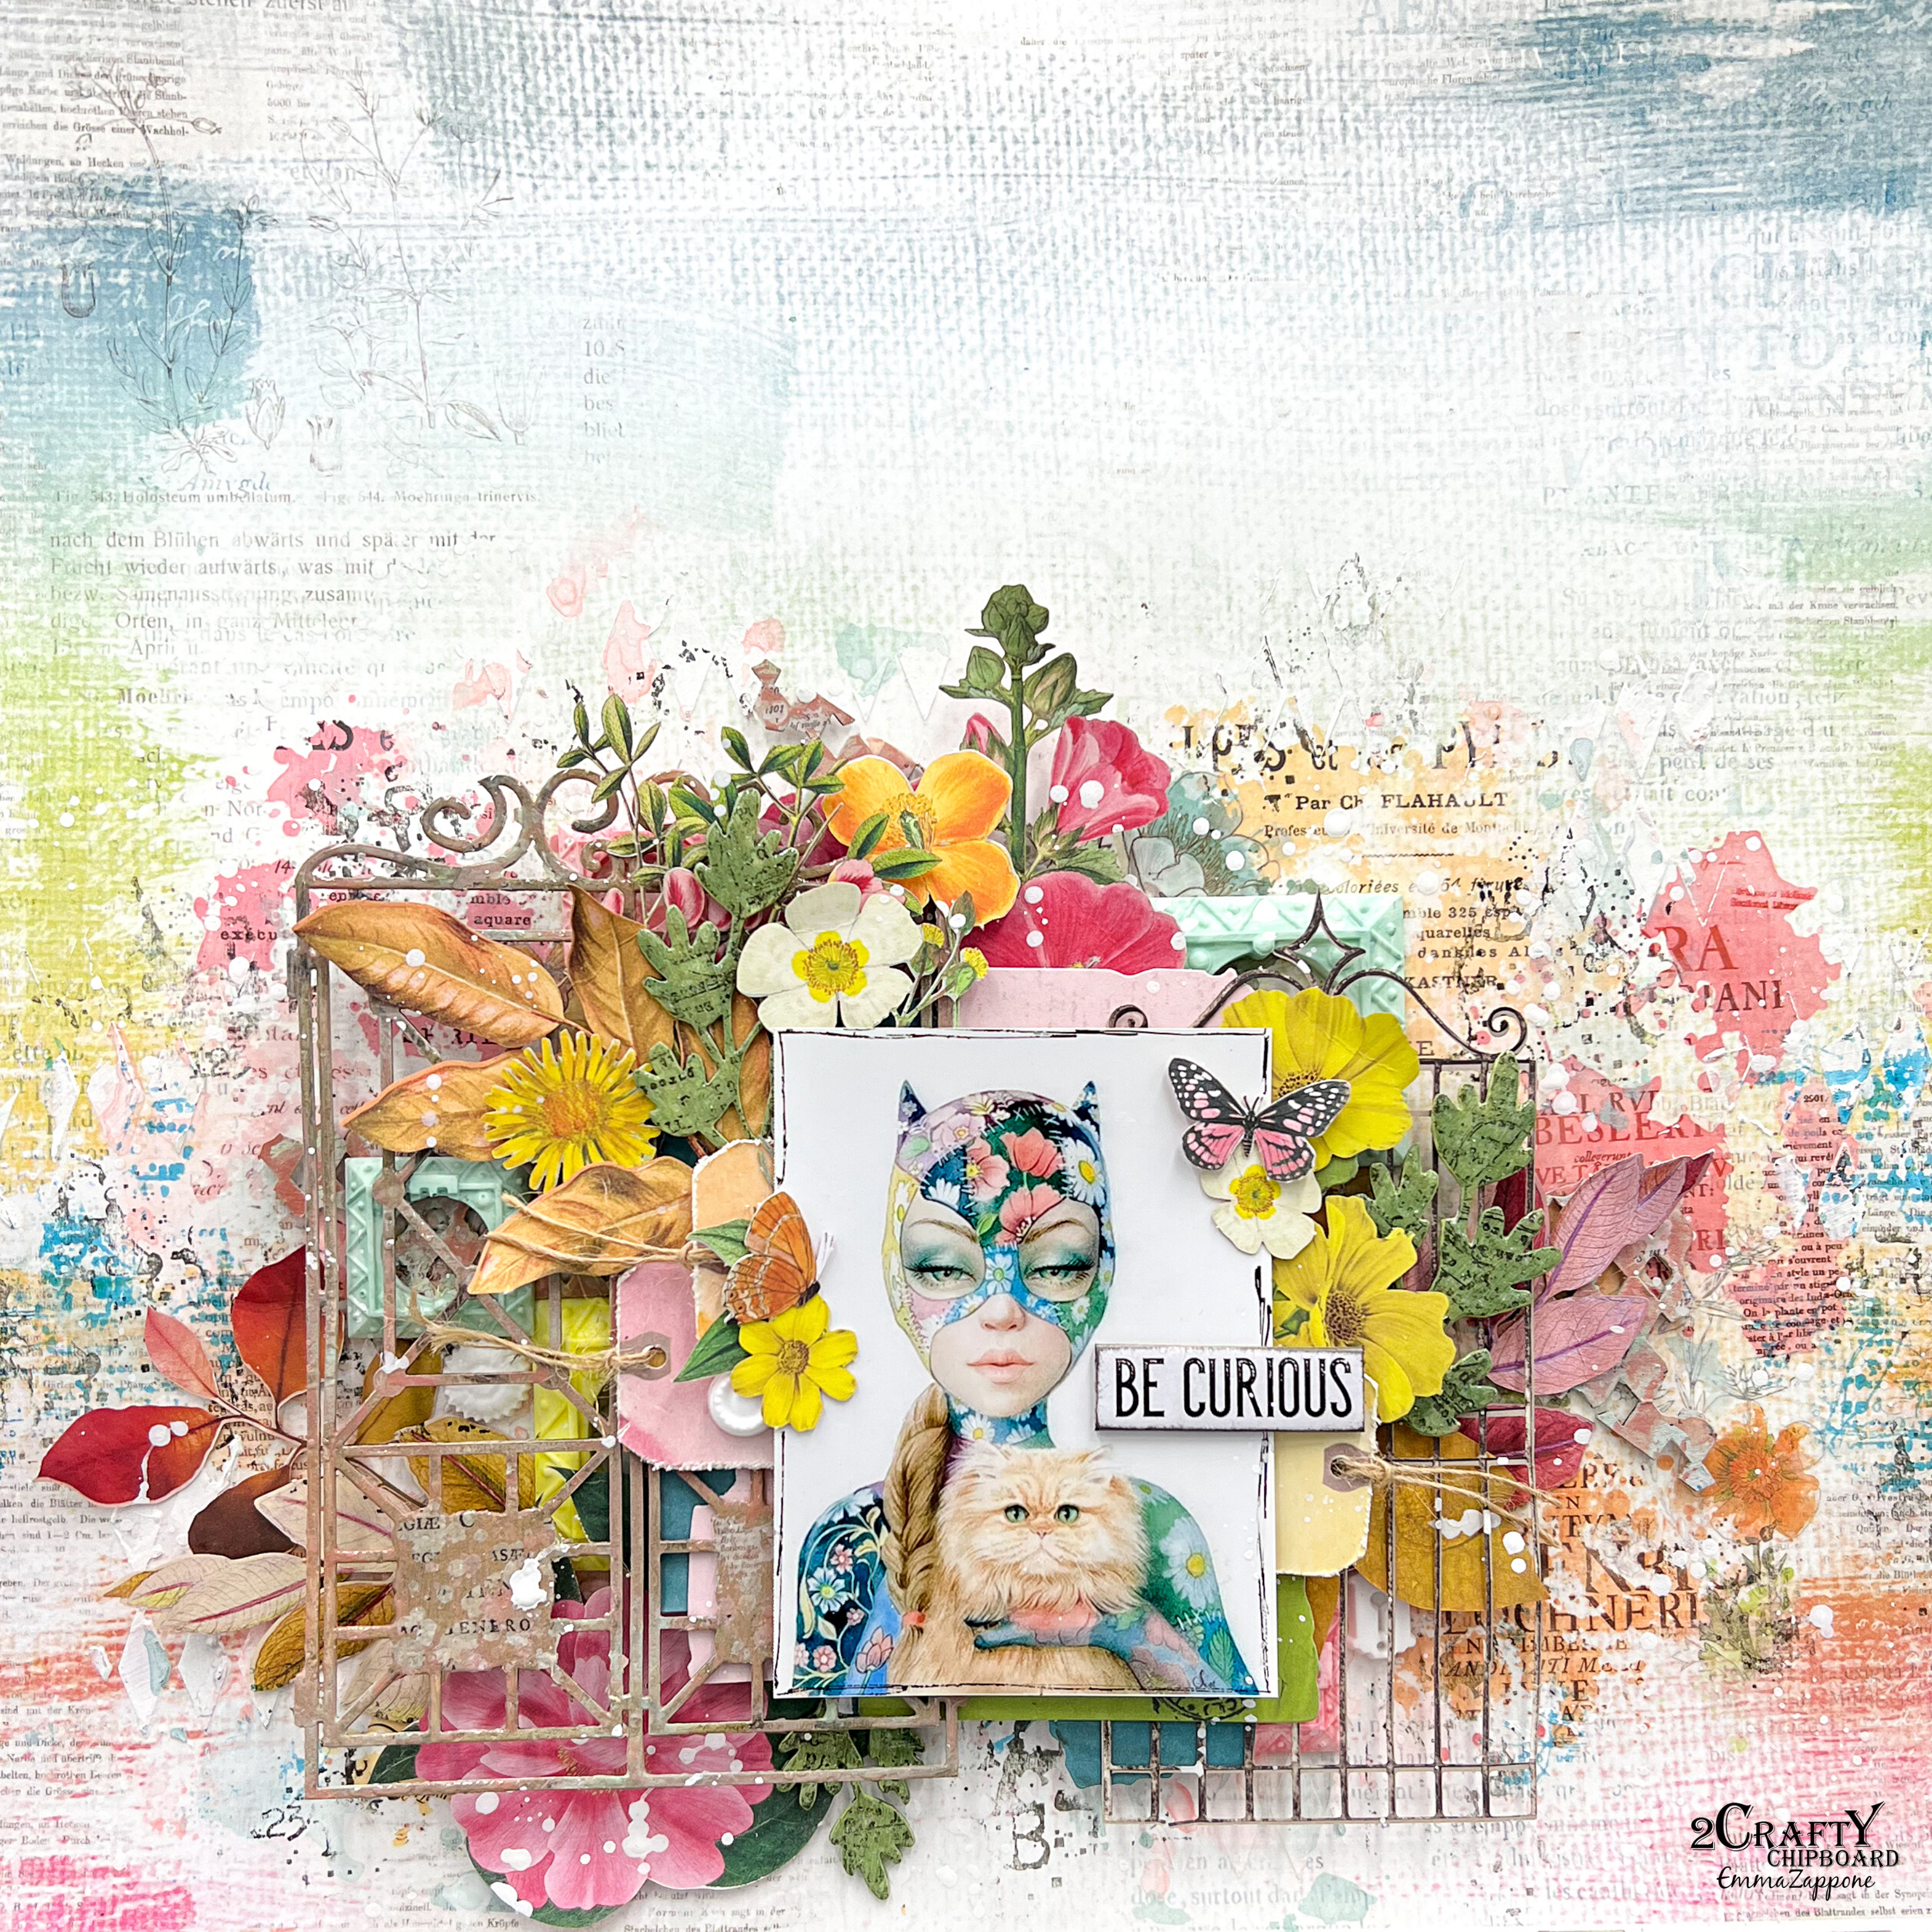
'Be Curious' - created for DT 2Craftychipbaord

Hello there!
Emma with you today, and I share a page that has a hint of 'spring' about it.


This page has a lot going on, well it has for me as I usually layer but not too heavy. But with this one I really wanted it to sing floral and yet capture the idea of a 'curious' garden behind the gates.
Plus the choice of chipboard I chose was so much fun to play with......

Diamond Chunks
Ornate Gateway
Foliage set 10


I spent quite some time altering the chipboard pieces with different mediums for this page.


The stunning Ornate Gateway started with a layer of White Gesso, then I added 2 liquid acrylic colours in umber and nude. Once these were dried I added some rub-ons in a few spots to mimic the look of old 'signs' on old botanical garden gates.


I did a similar finish on the Diamond chunks, but without the umber tone to create a contrast from the other elements. I used these pieces as a very subtle layer amongst my elements.


The Foliage were also primed with white Gesso. Then 2 green acrylic paints were added to create a 2 tone effect. Then stamping was added, again to create more visual interest. Finally on the Foliage and the Ornate Gateway I added a clear emboss powder to really make them special.


Along with a mix of resin pieces and amazing paper elements this page really 'sprung' off the page. I have added dimension by lifting off the page, so it gives the feel that you want to peer through the gate, to see more wonder. 'Be Curious' so to speak.


Thank you so much for joining me today.

I look forward to seeing you again later this month.

Stay Crafty!

Em xx


Saturday, 30 July 2022

'Maggie Mae' created for DT 2Crafty Chipboard

Hi everyone, Emma with you all today.
I haven't shared for a little while so I am excited to get back creating and sharing with you again.
So for today's share I created something a little grungy with plenty of awesome chipboard that is all featured on an A4 layout.


 Here is the chipboard used.....

Corner Steampunk Set 6 
Industrial Light Bulbs
Steampunk Gears small


I have cut and layered the chipboard for this project to suit the layers under my image.
This helps extend the chipboard and saves wasting anything that you can not see.


The chipboard has all been primed with black Gesso and then a variety of waxes used to create depth and interest on each piece. The Steampunk corner piece has been left dark so the other pieces can be a nice contrast when placed on top.


I also like to only adhere a section of my chipboard so that there is movement within the page. For example the Light Bulb ends are not glued so they raise naturally off the page, again this helps with visual dimension and stops that 'flat' look.


I do love how the small steampunk gears look layered over the corner and bulbs, especially with that copper wax to make them pop.

I hope this page has inspired you to get a little grungy and have fun creating something different.

Catch you all again soon, Em xx


Thursday, 23 June 2022

Colour Outside the Lines - created for ScrappingClearly

 Hi, Emma with you all this lovely Thursday.

The project that I'm sharing with you today is inspired by this months mood/sketch.
It is such a great sketch and features absolutely fab colours. 


Here is the inspo....


The products I chose to use also helped make this project easy to put together. You can see it all come together in the video that I have made for you.


It seems to be by nature lately in the creating world, for me to again play with 49 & Market rub-ons and elements. They were perfect for this sketch. Plus I added some cool rub-ons by Tim Holtz too.


The background was the good old smooshing technique using Mica powders by Finnabair.
My chipboard was painted with Dina Wakley acrylic in Cheddar.
A glorious orange hue.


I finished the whole page off with some green paint flick using Distress Oxide in Twisted Citron.

I would love you to check out the process video here.....


I love playing with colours I wouldn't usually play with. I hope this has inspired you to play along, you have another week to get your projects in 😉

Have a great week everyone.

Stay Crafty, Em xx


Sunday, 8 May 2022

Relic - designed for 2Crafty Chipboard

Hello Everyone and welcome to my first share for the month of May.
This share is on the smaller scale of 8inx8in. I work mostly with 3x4 photo images, which work great on my usual 12x12 or A4 layouts. So this time I decided to create small and tight, but still using the 3x4 image. I love the result and also let's love how cool and quirky this image is too!


Now lets talk about the awesome chippy used.
I have chosen to play with some of the newer pieces which added an eclectic/steampunk vintage vibe to the project.

Pieces used are......

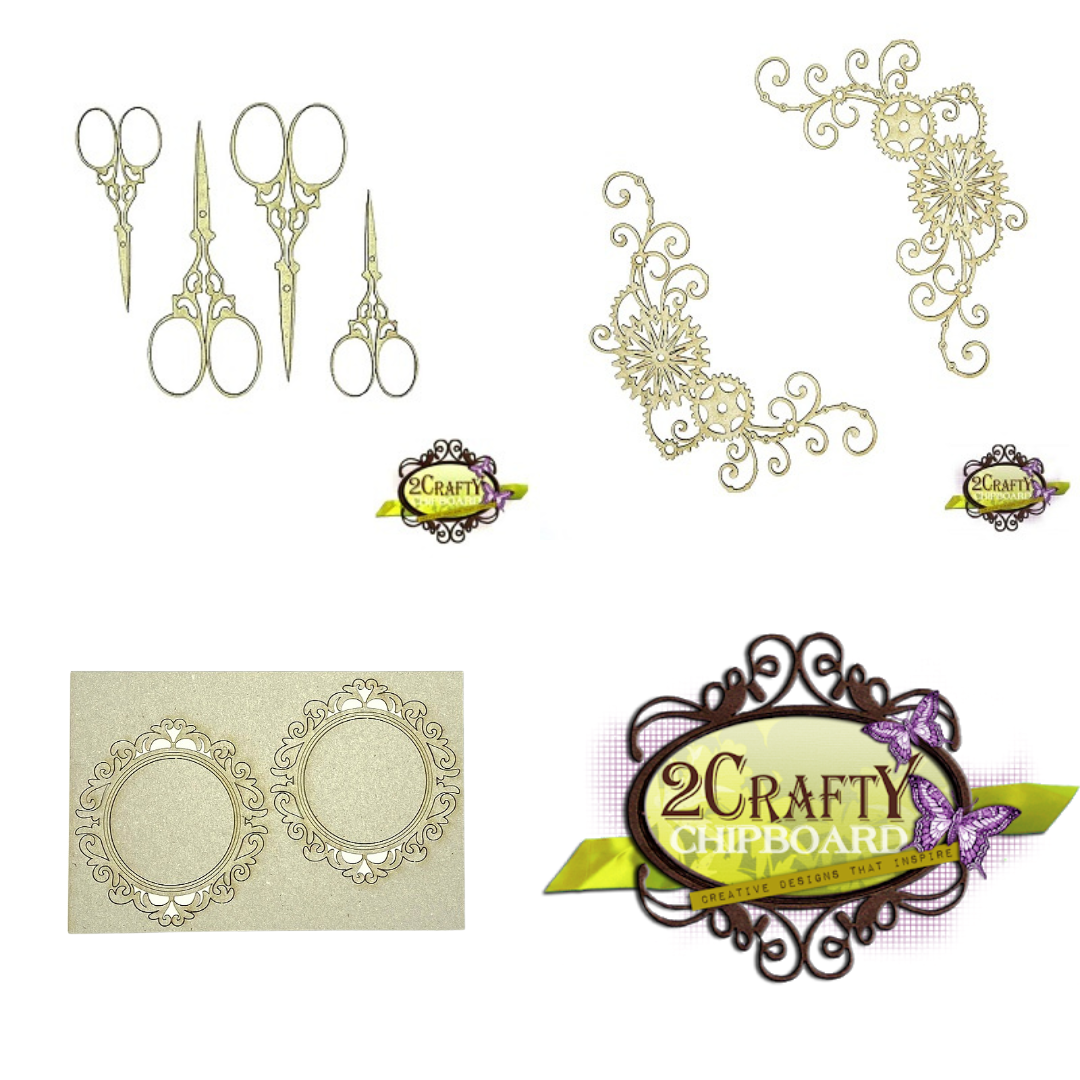
Mini Scissors
Mini Decorative frame set 6 
Corner Steampunk set 6


I wanted the chipboard to really sing around the image. I also wanted to use a new product and medium on the chipboard which was the new Ranger Foundry wax. And boy I was NOT disappointed! 


I could layer the colours over each other onto the chipboard as you can see here on the Steampunk corner, drying and setting the wax as I went. And the chipboard loved it! It certainly started to sing.


I was hoping it wouldn't hide any of the details of the chipboard as I painted the wax over the pieces, as sometimes if your painting with acrylic this can happen.  But as I was setting the wax the beautiful grooves and details really came through. As you can see on this pair of Mini Scissors, shining in Gilded Gold.


Each piece of chipboard has been treated with this finish on this page. And I must say that I am loving it! It really added to that steampunk vintage look I had desired from the start of the project.

I hope that my 8x8 page has inspired you to create this week and maybe play with a new or different medium on your chipboard. This chipboard LOVES all mediums!!

See you all soon, stay crafty.
Em xx