Sunday, 24 June 2018

Perfect the way I am

Hello Beautiful SC fans.
Today its my turn to share with you my layout using some awesome products that you can find in store.

This layout I have used the very fun and cool range from Heidi Swapp.


Again my page has an awesome pic that I sourced from Pinterest.
So much inspo out there why not use it right?

Firstly I started with a blank piece of  white paper and painted it with Dylusions rose quartz. 
Then stamped my feather stamps over it, and cut them out. 
Then I chose a sheet from the Heidi Swapp pineapple crush range in Flamingle. 


For my background I painted black stripes with some black gesso inspired by my gorgeous friend Tammy who nails this concept every time! 
Once dry i flicked the Rose quartz acrylic over that. 
Then I built my layers using a couple of the perforated squares from Heidi Swapps Let’s Flamingle Book. 


There is also a wRMK typecast tag in there too. 
My chipboard I painted in Dylusions again but this time in fresh lime. Boy do I love that lime! 
And the frame in the Rose. 
I arranged my feathers as a ‘tail’ behind my photo with the chippy. 


And I added a few rub ons from Tim Holtz life quotes and some complimentary stickers from Heidi Swapp pineapple crush range. A handful of enamel dots and this simple layout was complete. 
I hope you join in this week before the month is up, you could totally win yourself a gift voucher. 
I’ll catch you all next month with another cool challenge. 
Till then, Em xx


Tuesday, 12 June 2018

Beauty of a good heart by Emma Zappone

Hi everyone, 
Today I’m sharing a more ‘pretty’ layout with you all. 


How gorgeous is that base sheet!! 
So this paper is part of the so so range. 
Under my layers I then played with some oxide ink in so and Dylusions acrylic paint in so. 
I flicked only a little oxide ink in so around to bring out the blue in my image. 


Then I built my layers, firstly using some Tim Holtz tissue paper which I scrunched, and I layered a couple of travel tags which I coloured with the same paints and inks I used on my base. 
You can see how in my video 😊 


I tucked in some dyed pieces of fabric to add a textured feel and it also complimented the colours in the image. The Heidi Swapp frame I embossed by using a stamp and then emboss powder. I loved that this gave another texture but only subtle. 


In a few places I also added a few Tim Holtz rubons amongst my stamping. 
Then I placed a few embellishments, one being this Tim Holtz metal tag, this also became my title. 
Finally I added just a small handful of Studio Calico enamel shapes in soft pink. 

So there is my ‘pretty’ layout. 
I hope you enjoy my video and the awesome music my gorgeous boy made for it. 

I’ll catch you all again soon. 
Em xx


Saturday, 2 June 2018

Timeless - designed by Emma


Hello all you amazing 2Crafty fans, 
Emma here today sharing a layout inspired by a gorgeous image I found on Pinterest and of course the amazing inspiration the Chipboard gives me.


I chose pieces that I really wanted to compliment the photo. 

These are those pieces...


My title chippy I coated in ink and then painted it with Prima Art Alchemy in unicorn dreams. Ah-ma-zing!! 


How gorgeous is this butterfly!!! 
I decided to emboss this butterfly in black to shimmer but blend in with the page. 


Then my decorative frame I used half around the photo that I painted and the branch I embossed this in a antique moss green. 
Thanks so much for joining me today. 
I look forward to seeing you all towards the end of the month with another creation. 
Till then, Em xx


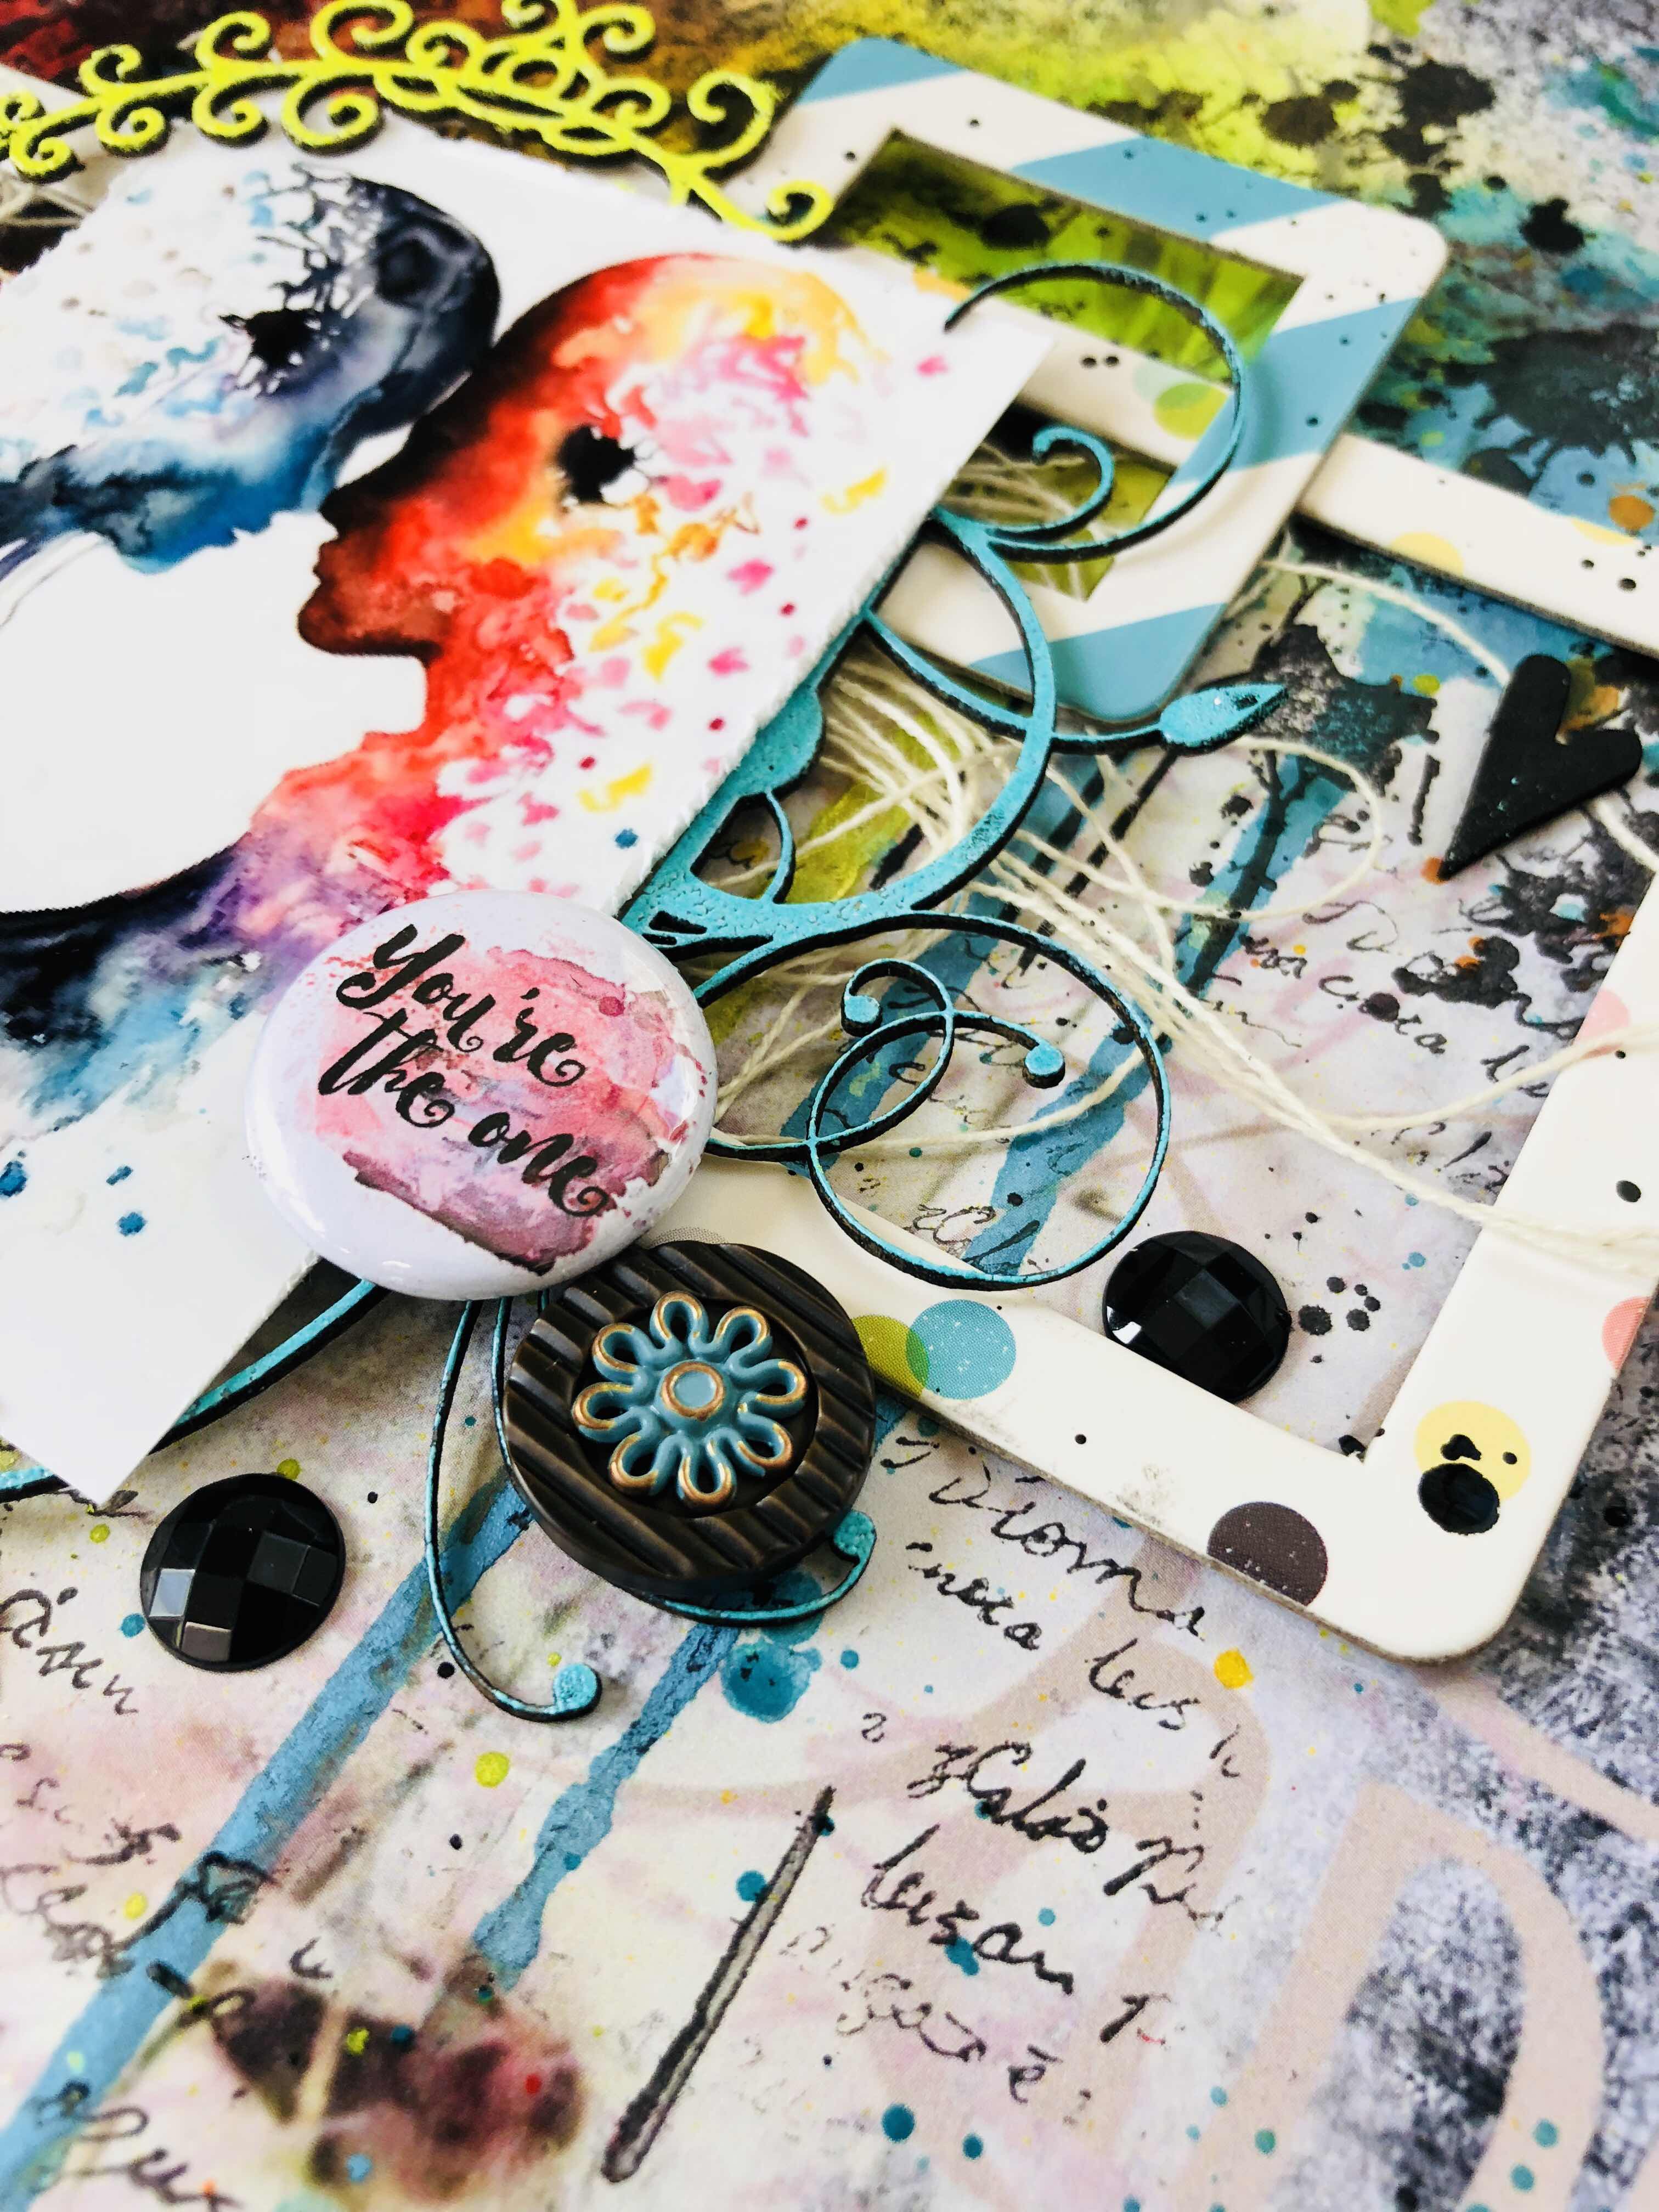
Your the one - created by Emma

Happy Tuesday everyone. 
It’s my share with you all on the SC blog today. 
We have such a great challenge this month. 
Here is my take.....


I started my layout with a sheet of Paper Arts - Black & White 1. 
It’s such an awesome sheet of paper as most of the ‘background’ work is done for you. 
Then I wanted to create colour drips and sprays in behind my layers so I did this with a variety of products, such as Heidi Swapp colour shine, Kaisercraft must in red and yellow, distress oxide in broken china. 
You can see how I did this in my video link at the end of the blog. 


I also flicked a few of these colours over and around to really bring colour to the center of the page. To create a bolder colour I used a couple of Dina Wakley acrylics in ruby and Tangerine to add body to the flicks. 
I then use a couple of stamps that look like splats over the ink colours and build with these. 


Under the photo I proceeded to layer twine and a few Carpe  Diem frames I had. 
Staggering these under my photo which is another awesome one I found on Pinterest. 
I used a couple of Heidi Swapp Marquee dots and Tim Holtz buttons as the embellies as well as some 2crafty chippy. 


And once all glued down I flicked and splattered Liquitex Carbon black ink to tie it all together. 
Layout complete!! 
I hope this inspires you to have a go of this months challenge, I’d love to see how you interpret it. 

And you can see my process video here....


Thanks again for your company and I’ll catch you all very soon. 
Em xx


Sunday, 20 May 2018

Discover - video and share with Emma.


Hello all you awesome 2Crafty people!! 
Today I have a video share to show you. But first my layout.... 


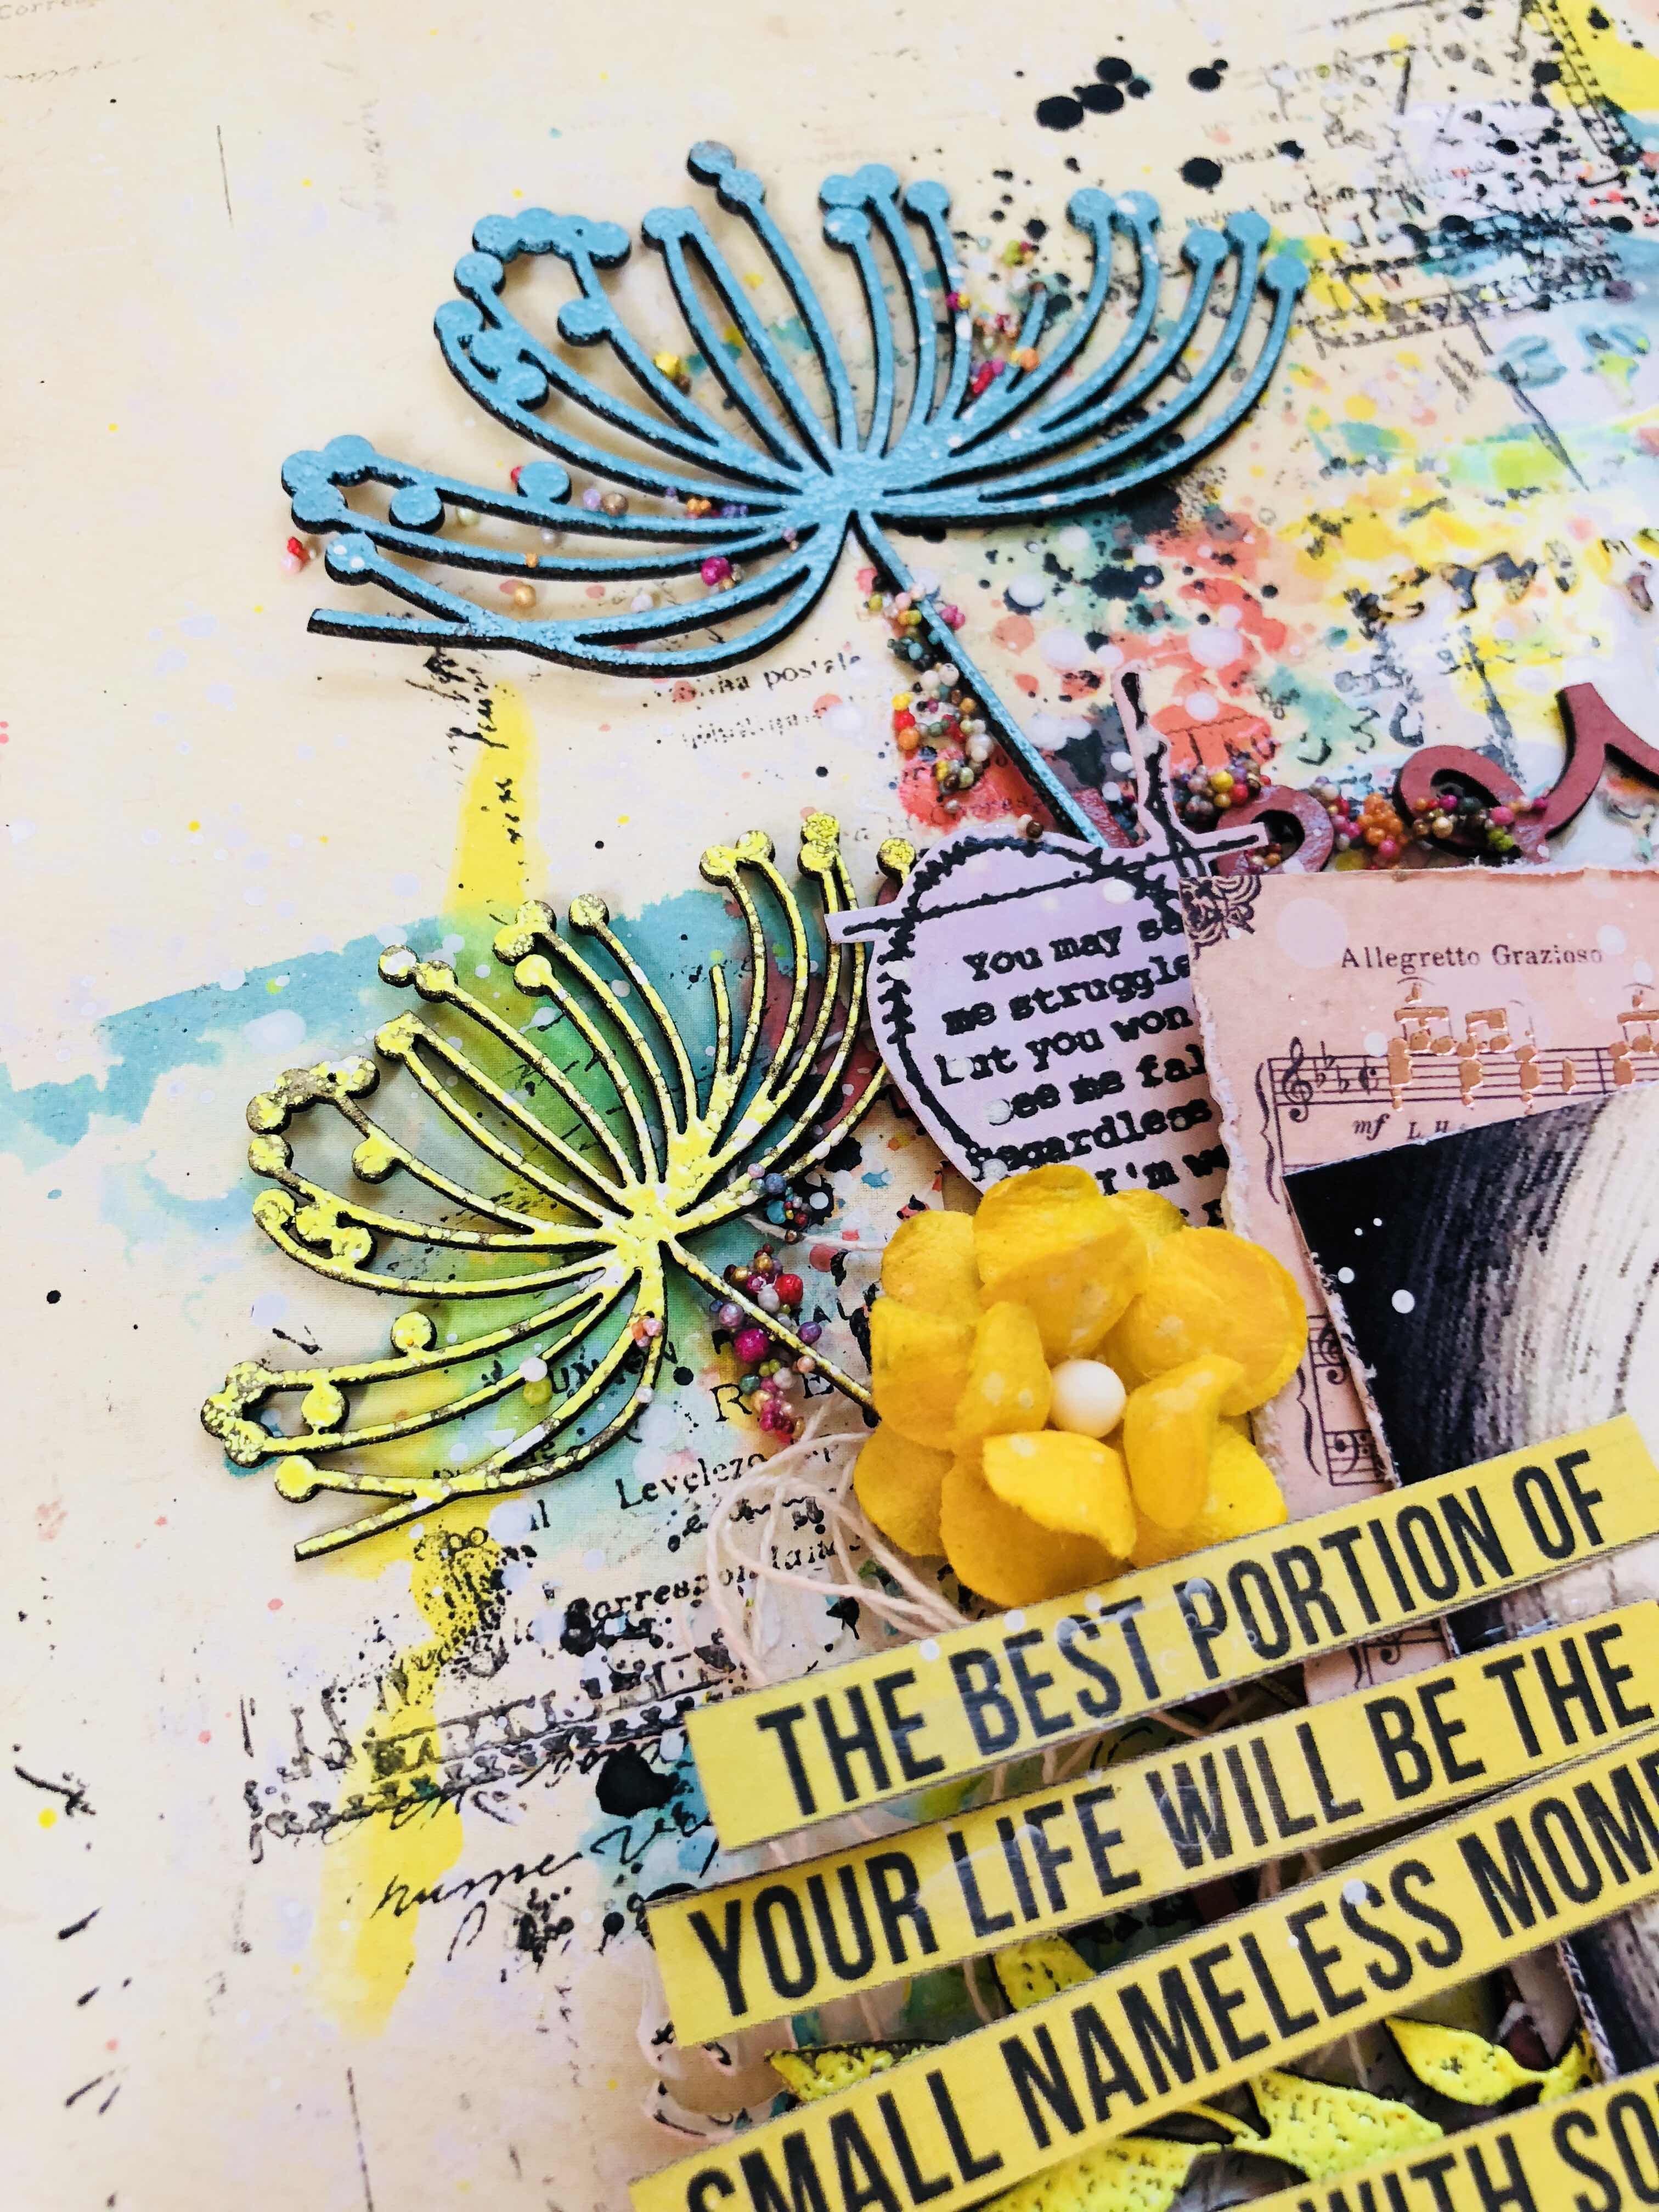
I just fell in love with this image, it’s one I found on Pinterest. 

And these are chipboard pieces I used for this layout...


And I thought how perfect the dandelion chippy was for this page. 


Lots of soft colours used on my base and then used the same colours on my chippy which i also embossed on the dandelions. 


The mini branches I left with only the ink painted on them. 
You can see how I do all this in my vid. 


The ‘discover’ title I coated in black ink so that it sort of became a part of the photo. 

You can see it all come together here....


Thanks so much for watching, and I look forward to seeing you all next month. 
Till then, Em xx


Journal art

Hi ScrappingClearly peeps, 
Today I’ve got an art journal page to share with you, and I must say it’s not quite what I had invisaged! 
It’s messier then I had hoped and I feel it’s not complete? 
What do you think? 


I have used lots of mixed media products on this. 
Firstly I started out my base paints. I used Art Anthology in Fiji and Silver. But then covered some of the silver with Ranger Caribbean Coast. 
Much happier with the colour tone then. 


I then stamped a Dark room door Stamp with Ranger Emboss ink and proceeded to emboss in yellow as a contrast to all the blues. 

As I was using the quirky paper dolls I wanted to add a couple of quirky elements, hence this particular stamp. 


I then used some Art Badics modelling paste through a stencil, and once dry patted some liquid Distress oxide ink in pink over the stencilling to give it s hint of colour. 
You can see all this come together in my video  ðŸ˜Š 


I painted my 2Crafty chipboard in Dylusions rose quartz acrylic paint. 
Scattered my people around the place and added a Tim Holtz quote band. 
So what do you think?? 
I must keep playing and practicing! 

I hope it inspires you a little to try outside your comfort zone?? 

I’ll catch you all next month, and I hope you have an awesome Scrappy time until then. 
Em xx


Friday, 18 May 2018

Escape - with Emma


Hey there, 
Today I’m sharing just a quick layout, again inspired by the off the rails moodboard. 


This one I wanted to keep clean and minimal. 
Instead of putting paint down first I chose to emboss some colour instead. 
And I must say I had fun! 


Then I used a couple of 2Crafty chipboard pieces to become my layers and some basic flowers. 


I then placed a few enamel dots and flicked ink around. 
Once I was happy placing all my elements, I put a couple of emotion stickers to finish the ‘feel’ of the page and then added some prills to add that last  bit of sparkle. 


I hope you feel inspired to play along with the moodboard. 
I’ll catch you all next month. 
Scrappy love, Em. Xx